There is a quiet thrill in watchmaking that only comes from uncovering neglected history. In our latest video on The Watchmaker’s Bench, we are taking you on a journey of resurrection as we restore a vintage Rolex Air-King Reference 5500.
The history of our Rolex Air-King 5500
We actually bought this Rolex Air-King watch back in 2014 for a modest £500 from a customer. He had taken it to Rolex for a service, but after being hit with a massive official estimate, he was ready to just throw it in a drawer. We offered to take it off his hands, and it ended up sitting in our own drawer for nearly a decade! Now, after finally sourcing the correct original parts, we are ready to bring this classic timepiece back to life.
For our fellow vintage watch enthusiasts, this teardown is a masterclass in patience, diagnosis, and delicate preparation.
The Diagnosis: A Decade of Neglect
Before we turn a single screw, we always start with a thorough assessment. At first glance, this Air-King had some obvious battle scars, but the real issues were hiding just beneath the surface:
- The Stuttering Seconds Hand: Instead of a smooth, sweeping motion, the seconds hand was jumping erratically. We quickly found the culprit: a completely missing friction spring beneath the automatic work.
- Hidden Water Damage: Once we popped off the bezel, we uncovered a nasty ring of orange corrosion eating at the steel case middle. Decades of trapped moisture had settled right under the glass.
- The “Chainsaw” Movement: When wound, the Rolex Caliber 1530-series movement groaned with a loud, dry friction. The old graphite grease had dried up completely, leaving the delicate pivots and pinions running bone-dry.
Step-by-Step: The Delicate Teardown
With our diagnosis complete, we began the highly satisfying process of stripping the watch down to its bare components to get it ready for the cleaning machine.
1. Housing the Movement
We started on the outside, removing the original Oyster bracelet and unscrewing the caseback. From there, we carefully lifted the heart of the watch (the mechanical movement) out of its corroded case.
2. Safeguarding the Dial and Hands
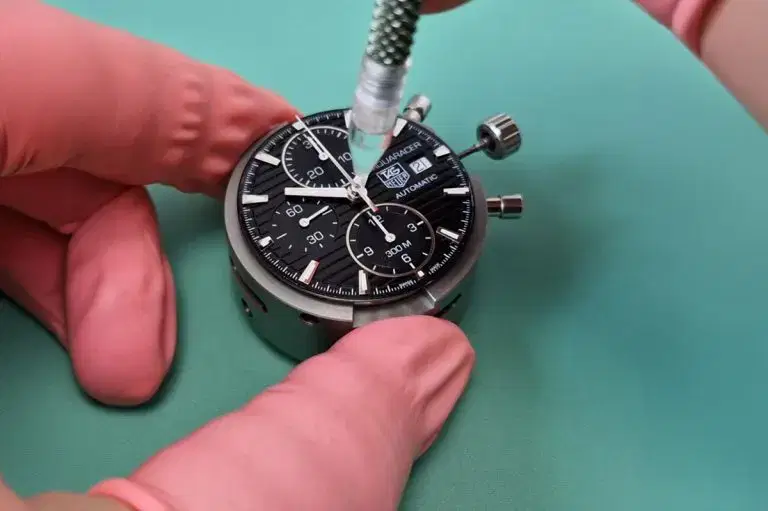
Handling a vintage dial is always a high-stakes task. Slipping on our protective finger cots to keep skin oils away, we noted a fantastic detail: this watch still has its original, elegant “pointy” hands. Back in the day, Rolex used to swap these out for flat hands during routine services, so keeping these original pointy hands is a major win. Using specialized hand levers and a protective plastic sheet, we lifted the hands and dial safely away.
3. Stripping the Caliber
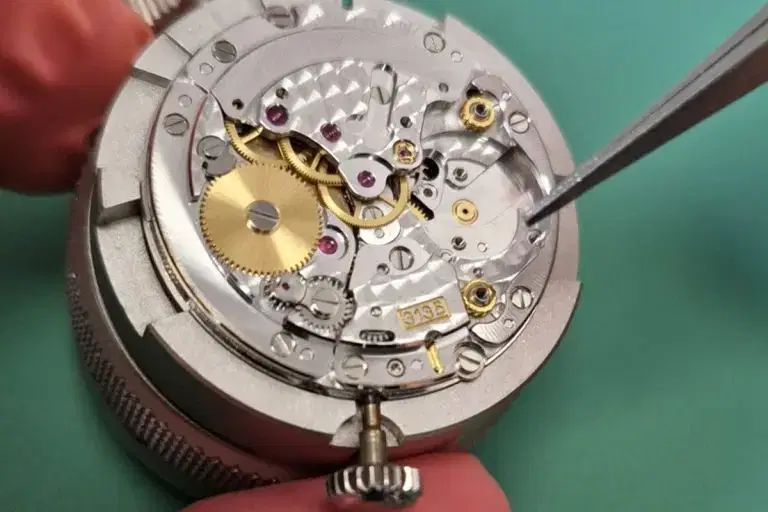
Next, we secured the movement in a holder and began systematically disassembling the gear train. When pulling tightly fitted wheels, we always slide a tiny piece of plastic over the plate before using our lifting tools. It takes an extra second, but it prevents the tool from scratching the plates—a step you should never be too lazy to skip!
4. Scraping Away the Past
Even the best ultrasonic cleaning machines need a little help with ancient, baked-on grease. To prepare the movement parts for their chemical bath, we “pegged out” the tiny jewel bearings. Using hand-carved sticks of pegwood, we manually scraped away the stubborn black crust of dried-up oil so the cleaning fluids can do their job perfectly.
Preservation vs. Polish: What Would You Do?
As we wrap up the teardown, we are left with a classic vintage Rolex restoration dilemma. We plan to gently polish the corroded steel case on our lathe to bring back its original lustre. But in the vintage Rolex community, opinions are always split.
Would you keep this Air-King completely original—scratches, battle scars, and all—or do you prefer a clean, factory-fresh finish? Head over to the video and let us know your thoughts in the comments!
With the movement completely stripped, peg-cleaned, and organized into our delicate mesh baskets, we are officially ready for the cleaning machine. Stay tuned for the next phase of the rebuild!